Setting up Mail on Mac OSX Snow Leopard: Difference between revisions
Jump to navigation
Jump to search
imported>Henry.joshua No edit summary |
imported>Henry.joshua No edit summary |
||
| Line 39: | Line 39: | ||
[[File:Mail8.png]] | [[File:Mail8.png]] | ||
{{alertbox | title = SSL "on" | text = You may notice on the account summary page that SSL is on for the incoming server. Don't worry about it now, I will cover how to change this in the [[ | {{alertbox | title = SSL "on" | text = You may notice on the account summary page that SSL is on for the incoming server. Don't worry about it now, I will cover how to change this in the [[Mac Mail Server Settings | server settings wiki]].}} | ||
*Select "take account online" and click create. | *Select "take account online" and click create. | ||
Latest revision as of 11:44, 19 December 2011
Setting up Mail on Mac OSX Snow Leopard
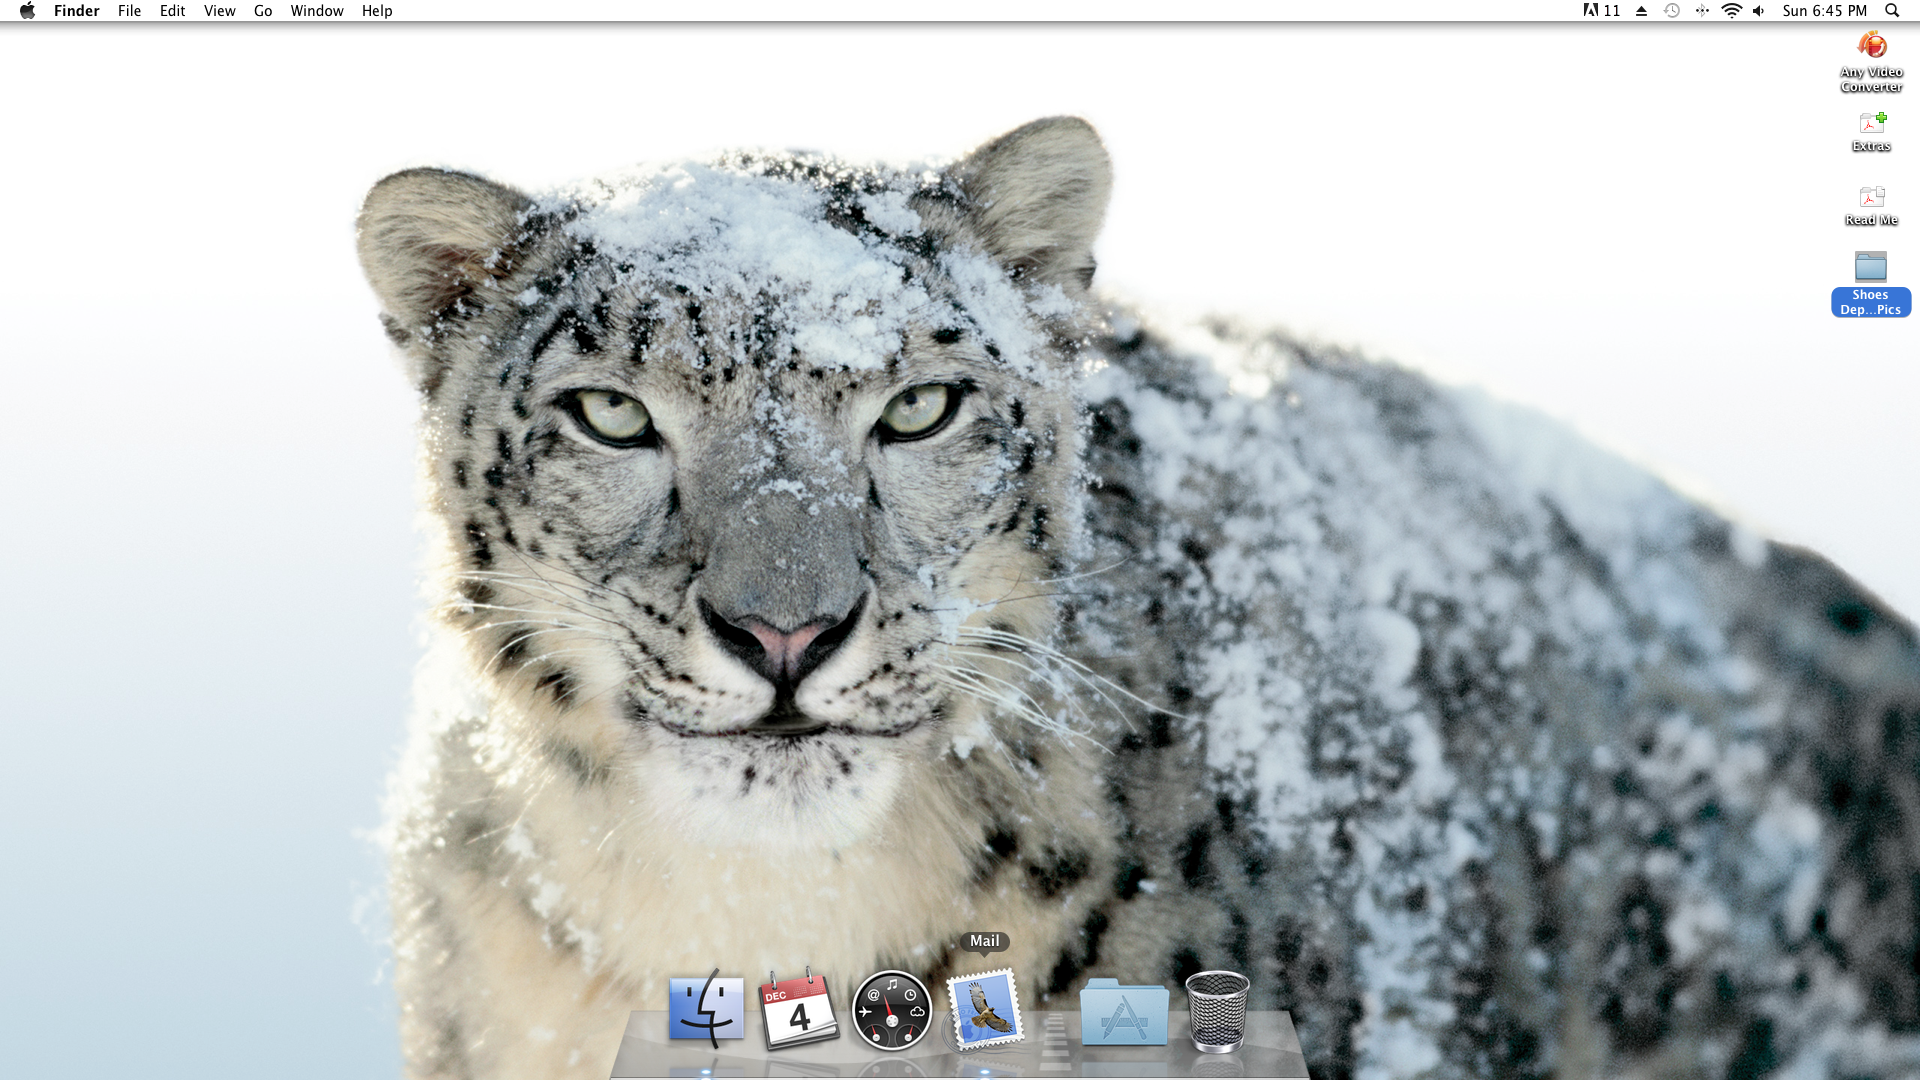
- First you will need to open the Mail program, it is normally assigned to the dock but may be in the applications folder.
- The icon for Mail is the postage stamp as seen in the screenshot below.
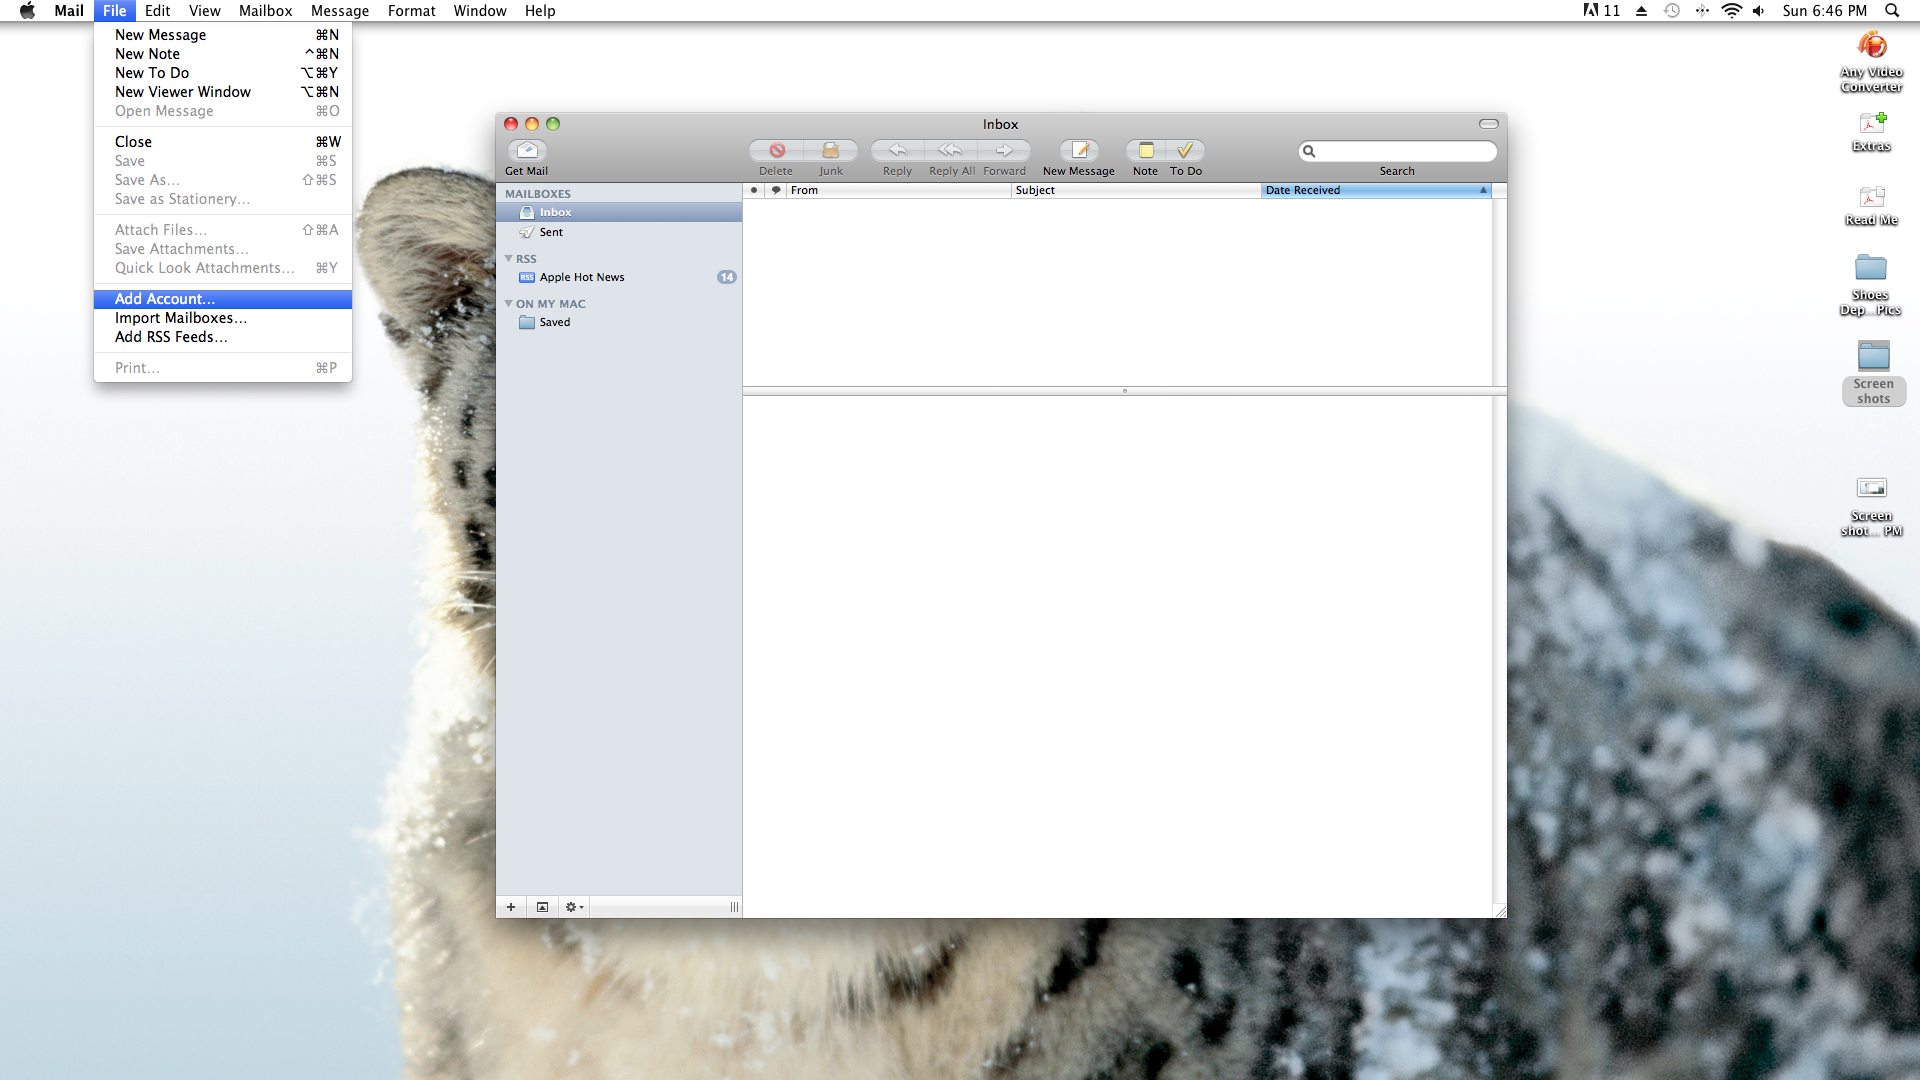
- Once you have opened the Mail program, you will need to select file in the menu bar at the top of the desktop and select add account.
 | Menu Bar - In order to get the menu bar for the program you want, you must bring the program window to the front. It defaults to finder or another selected program otherwise. |
- From the add accounts window you will start inputting you email information.

- Click continue after filling out the appropriate information.

|
| Username - On the incoming server window, the username field defaults to not include the "@acd.net" make sure to include this as well. |
- Click continue after filling out the appropriate information.

- Click continue after filling out the appropriate information.

- Mail will check connection and give this screen.

- Click continue to proceed unsecured.

|
| SSL "on" - You may notice on the account summary page that SSL is on for the incoming server. Don't worry about it now, I will cover how to change this in the server settings wiki. |
- Select "take account online" and click create.
- Close the mail client and re-open it to verify you can send and receive email.
